Photosanity – The Light You Have

Hi All!

As you probably know, I’m mentoring a group of San Diego photographers who have signed up for Photosanity, an online workshop that helps parents take better photos as well as get a handle on organizing, editing, and sharing them! In previous posts, I’ve covered what to look for to get the best photos and tips to capture natural eye contact and smiles. This week’s lesson is about making the most from the light you have.

One of the first things you’ll learn about photographing in natural light is that the best light for photographs can be found within the first and last hours of daylight. That’s when the sun is closest to the horizon, and the layers of atmosphere diffuse the sun’s rays, producing gorgeously soft light. The hour before sunset even has a special name–the “golden hour”–because the light tends to be deliciously warm, soft, and forgiving. Seriously, it’s a portrait photographer’s dream! (It’s true–contrary to popular belief, bright sunlight is not good for photos! I have no clue how that myth even got started!)

But what happens when you have an event planned at a time other than dusk or dawn? Or what about those times when you’re out making memories with your family at high noon? Well, we have to learn to deal with those lighting situations as well. There are several tactics I usually employ to tackle challenging light, but let’s talk about one for now: find shade!

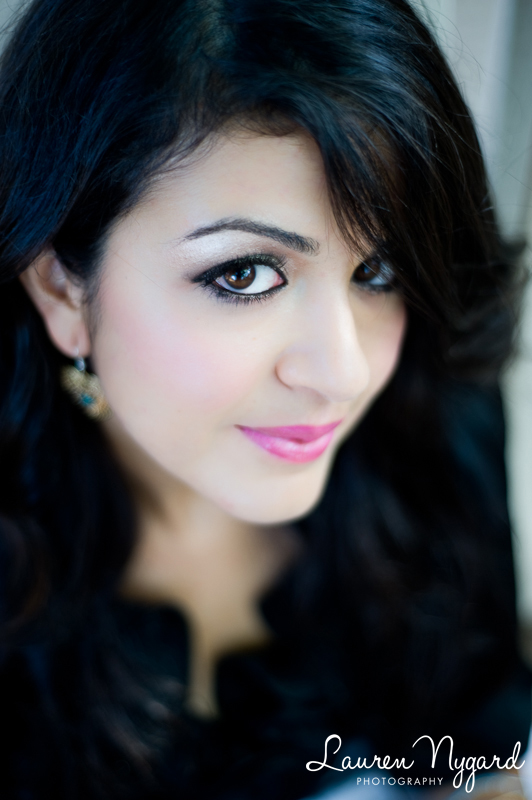
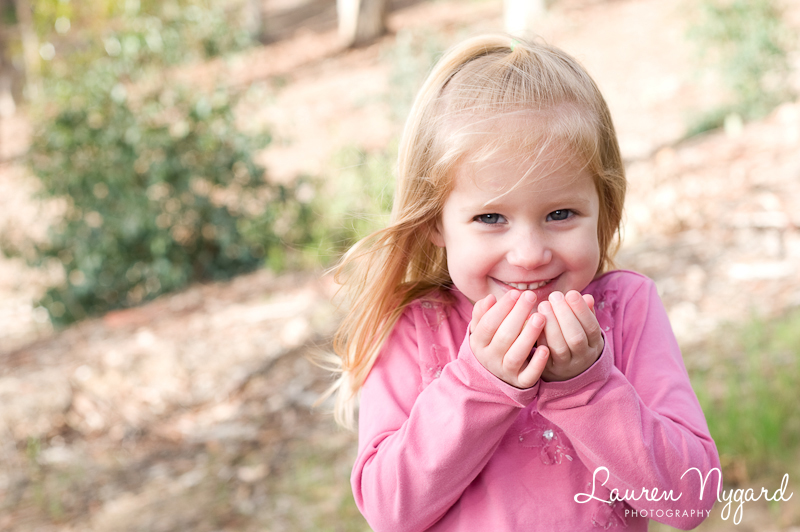
This is pretty easy. If you’re out at a park, go under the nearest tree. Or find an umbrella. Or a building. Or something. Trees are usually most abundant, and provide really nice light! Here are some examples I captured at one of last year’s photo sessions under the shade of a nearby structure or tree.

Gorgeous, huh? :)

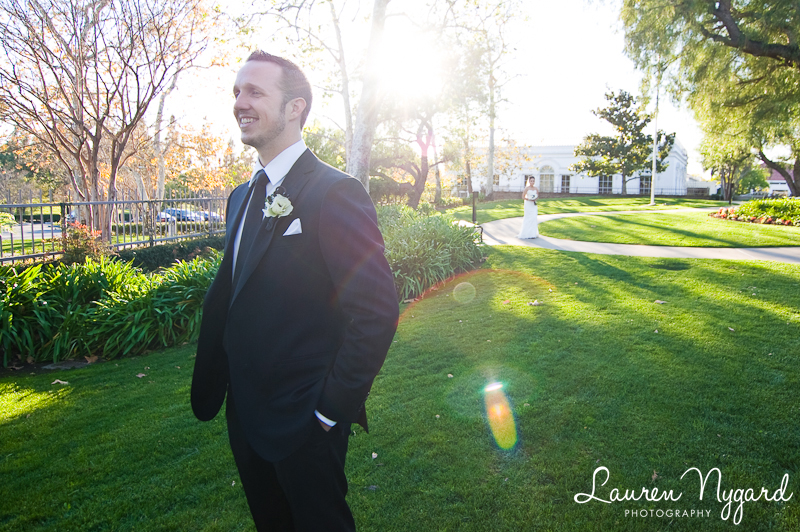
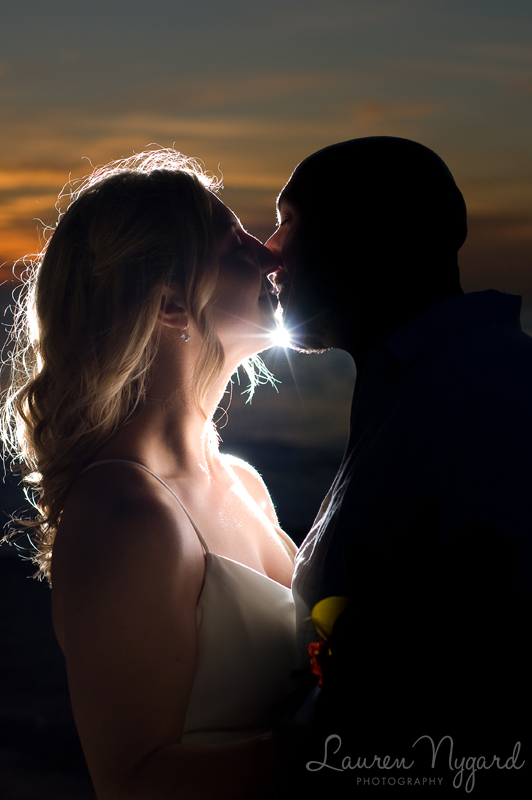
And, if you can’t battle the sun, at least play nice, eh? Another tactic is to embrace the harsh sun, head-on. And get some gorgeous flare as a result! For this photo, I was shooting towards the sunlight, but metering for my subject, and I allowed the sun to hit my lens for the flare.

I’ll be blogging about future workshop lessons so make sure you “like” me on Facebook to get the latest updates! In the meantime, you can also check out the free Photosanity video lesson on the top 5 tips to take better photos of your kids!!

xoxo,
Lauren


Photosanity – Capturing Natural Eye Contact and Smiles

Hi All!

As you probably know, I’m mentoring a group of San Diego photographers who have signed up for Photosanity. It’s an online workshop that helps parents take better photos as well as get a handle on organizing, editing, and sharing them! You saw a post about the first week’s lesson on the five triggers here. This week’s lesson is filled with lots of tips and strategies on how to get your children to cooperate in front of the camera. I hear it’s not an easy task! :) The lesson is filled with all kinds of tips and strategies. I’m going to share a couple tips I like to use to capture natural eye contact and smiles!

I mentioned Sophie’s story when I was interviewed for the NestingNYC blog as part of my mentorship with Photosanity:

Little Sophie was taking a while to get warmed up to me, so I asked her to help me get her mommy and daddy to smile at the camera. She was a fantastic assistant! When I showed her the image I captured of her parents, she had a huge smile on her face! I told her it was her turn, and I was able to catch this precious shot.

So, my first tip is to get your child involved in the photography process! Perhaps you have another child (or friend or spouse or pet) that you can use as a subject for a few moments while your child is playing around or otherwise not paying attention. Not only is it a great opportunity for you to capture him while he’s in his own world, but you can quickly call his name to snap an image while he’s looking right at you with that inquisitive eye.

Another tip is to keep them occupied with something else. I took this photo at a recent session that we did right before Valentine’s Day. I took along some of my mini red heart cookies and had Lena hold one for a couple shots. She was more interested in eating it than in holding it for a photo, so, in this image, she’s pulling the cookie up to her mouth, as if she’s about to take a bite! Her mom and I kept saying that she could have it once we got the photo we wanted, so I love the little smirk she’s giving since she knew she wasn’t supposed to eat it. :) And don’t worry–we let her chow down right after this shot!

I’ll be blogging about future workshop lessons so make sure you “like” me on Facebook to get the latest updates! In the meantime, you can also check out the free Photosanity video lesson on the top 5 tips to take better photos of your kids!!

xoxo,
Lauren


Happy Hearts Day!

I hope you all are having a fabulous Valentine’s Day! I’m happy to have my husband back from the field just in time to celebrate it together. :)

Since he was out for the past week, I took some time to bake up treats to send to my family this year. I started with some shortbread that I intended to decorate like heart-shaped ladybugs, a.k.a. “hug bugs”. The decorating did not go as planned, but they turned out cute anyway! Then I cooked up some brownies, cut them into hearts, and sent them along.

You know it’s going to be good when you start with a huge bowl of butter!

I started off with my beloved hand mixer (an awesome hand-me-down from my grandmother!) but it was no match for all the butter.

So I pulled out my trusty Sunbeam. I love this mixer because it’s the same model that my mom uses, which was passed down from my great-grandmother! I had a similar one in college that was my grandmother’s (my mom’s mom’s) but it stayed in Texas when I moved to California, so now my mom pulls it out since hers is trying to give out.

I found this one randomly at the thrift store at Ft. Myer in Virginia, shortly after my husband and I got married. It might be the best $10 I’ve ever spent. (Never mind that I sometimes have to duct tape the power cord into the back of the mixer to get it to work!) Have I mentioned how much I love vintage appliances?!

Hey look! That’s me in the reflection in my teapot on the right! :)

The white tips are the results of my attempted ladybug-making, which quickly turned into drizzles!

The brownies were the easy part! :)

Have a great day and lovely week! ;)

xoxo,
Lauren


Photosanity – The Five Triggers

Hi All!

As you probably know, I’m mentoring a group of San Diego photographers who have signed up for Photosanity, an online workshop that helps parents take better photos as well as get a handle on organizing, editing, and sharing them! The workshop just kicked off and this week’s lesson is all about what to look for to get the best photos. We talk about the five triggers of photography: emotion, significance, light, composition and environment.

Below is a photo of mine from a recent wedding that I love! All five of the triggers were at play in this photo! This is a photo of the groom awaiting the “first look” of his bride before the ceremony (emotion and significance). The light was perfect because we were in open shade, both the bride and the groom are placed on the vertical “thirds” lines of the photo (composition), and we know that this took place on the back lawn of the Nixon Library because we can see the building in the background (environment).

I’ll be blogging about future workshop lessons so make sure you “like” me on Facebook to get the latest updates! In the meantime, you can also check out the free Photosanity video lesson on the top 5 tips to take better photos of your kids!!

xoxo,
Lauren


Wedding Photography Secrets from LNP

A couple weeks ago, my friend Matthew Gomez posted on my Facebook wall that he was going to be photographing a wedding! He asked me to share any secrets I had. I was feeling just a little cheeky, so I wrote back:
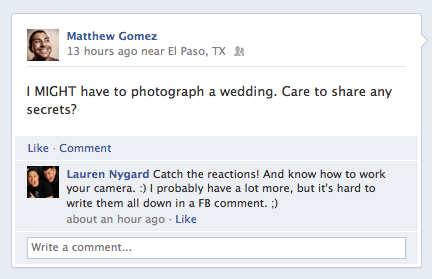
The truth is, photographing a wedding is a lot of work. Awesome, worthwhile, fun, rewarding work, but work nonetheless. And it takes time and practice! I am not writing a blog post about why you shouldn’t try photographing weddings. And I am definitely not THE go-to expert on the subject–there are many, many photographers out there who all photograph weddings in their own unique, gorgeous style! I’m sure they would come up with a different list, if asked! But, here are my top five tips to photographing your first wedding.

ONE.

In lieu of listing the technical aspects of photographing a wedding, I will sum it up in a few words: KNOW YOUR EQUIPMENT. And, yes, I do mean equipment–not just your camera. You need to know the in’s and out’s of the specific models you’ll be working with on the big day. This would not be the time to rent the fanicest, newest camera you just read about! You should be able to operate the camera and all of your accessories in the dark, handcuffed, and tied to a tree. Ok, that was an exaggeration, but you get the point.

I will tell you something slightly embarassing. I owned a flash (the Nikon SB-600 to be exact) for approximately 6 months before I learned how to use Nikon’s Creative Lighting System. Do you know how ridiculous that is?? I knew my camera and flash were able to connect and fire wirelessly, but I just didn’t take the time to figure it out for months. Yes, MONTHS! In fact, (and even more embarassing) in the meantime, I had purchased a flash synchro cable so that I could stand there with my camera in one hand and flash in the other, firing as if it weren’t connected. Can you say useless?!

Plus, don’t even get me started on the whole “you take good pictures because you have a good camera” thing. Because it’s crap. And I’ll leave it at that.

TWO.

Lists. Make them. Have your couple make them. Take them with you. Use them.

What am I talking about? Well, lots of things. For one, make sure you get a shot list from the bride or groom that explicitly lists the names of the people they want in their formal family portraits. Why? Because it’s a wedding day. And it goes by quickly! And you don’t want to hear about poor old Aunt Betty, who cried her eyes out when she realized you didn’t take a single photo of her during the entire day. But, here’s the thing: How do you know the difference between Aunt Betty and Wedding Crasher McGee? Yeah, you don’t. So get that list. And follow it.

Another list that you should consider taking is a list of shots that you want to make sure you capture on your couple’s wedding day. This can include specific details (What’s that? Your bride just told you that her mom hand-sewed a piece of her grandma’s wedding dress into her corset? Take note!), specific poses you want to try, and just general ideas of what you want to accomplish. Keep in mind that sometimes, some photos just don’t work out, so don’t be afraid to try one, see that it’s not working, and move on. But you have to ensure you capture what’s important to the couple, their family, and you.

Some photographers even have packing lists for weddings, so they make sure all of the important equipment is with them on the big day. I personally haven’t done this, but it’s a great idea if you tend to be forgetful or if you anticipate being really nervous (who isn’t?!). Nerves sometimes get the best of us, and you want to make sure you’re ready to rock when you arrive on the wedding day!
THREE.

Sleep. Yes, you heard me. Get some sleep the night before the wedding. It sounds simple, but it’s really important. You’re going to be on your feet for most of the day, running around like a crazy person. Hopefully, you’ll be able to hide the crazy, but it will still be there. Trust me. Having a good night’s rest will help keep you grounded and thinking clearly. You’re going to need it.

FOUR.

Pack an emergency kit. This kit should contain a variety of items. The most obvious ones are back-up equipment, such as extra batteries, chargers, memory cards, lens cleaner… You get the point. The emergency kit will vary from person to person. For example, I always carry three granola bars on me. I learned early on that packing food on a wedding day is a good idea (things can run behind, you know) but it’s especially important for me to pack some personal fuel in case my bloodsugar wants to take a nosedive, which it has. The granola bars literally save me. The ones I take are small, easy to digest, and moderately discreet. I can stuff about half of one in my face, chew, and stuff the other half in while fumbling around in my camera bag or changing a lens, and no one ever knows. Bonus.

FIVE.

Don’t freak out. Yeah, this is a big one. Do your research, plan ahead, and go with the flow. It’s a wedding for cheese sake! Not everything is going to go as planned, but that doesn’t mean you can’t maintain composure and continue to work just as hard as when you started. Get used to thinking fast, becoming a problem solver, and carrying on! It’s part of the excitement of the wedding day!

So, there you have it! Those were my top 5 tips to photographing a wedding!

Do you have a tip you’d like to share?? Please leave it in the comments below! I’d love to hear from both sides: photographers and recently- (or soon-to-be-) married couples!

xoxo,
Lauren
 

p.s. Here’s a bonus one. I meant what I said in my response to Matthew about catching reactions! Did the father of the bride just crack a hilarious joke during the toasts? Capture a photo of him, pan to Mom and click again! Did the groom’s nephew just run up to the alter during the vows to give his uncle a hug? Click, pan to the groom’s brother and sister-in-law, and click again! Make sense? Get good at catching reactions and your brides and grooms–and their families–will love you forever.