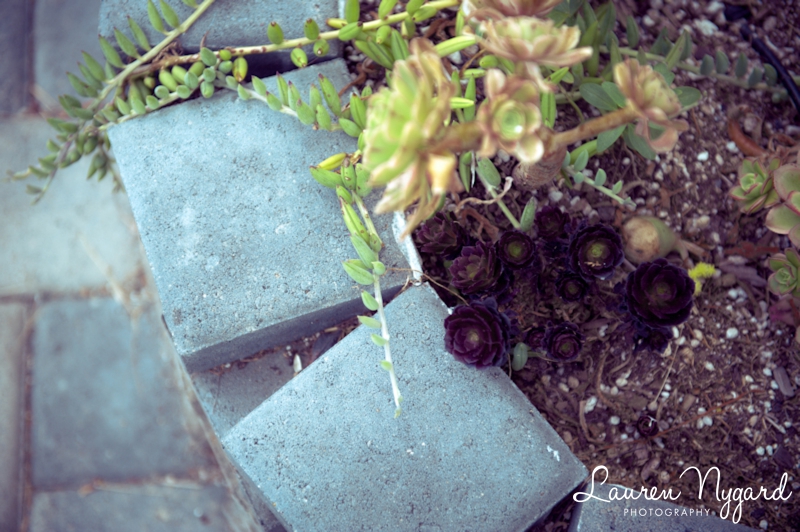
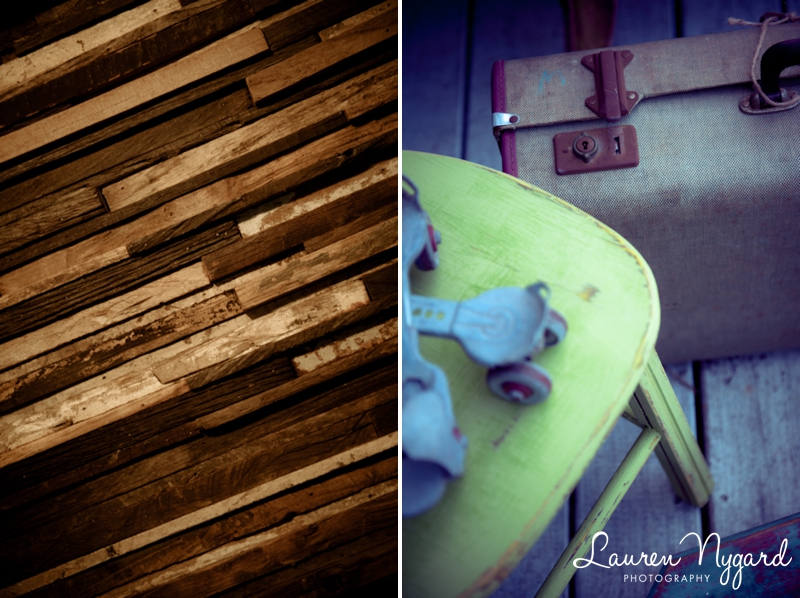
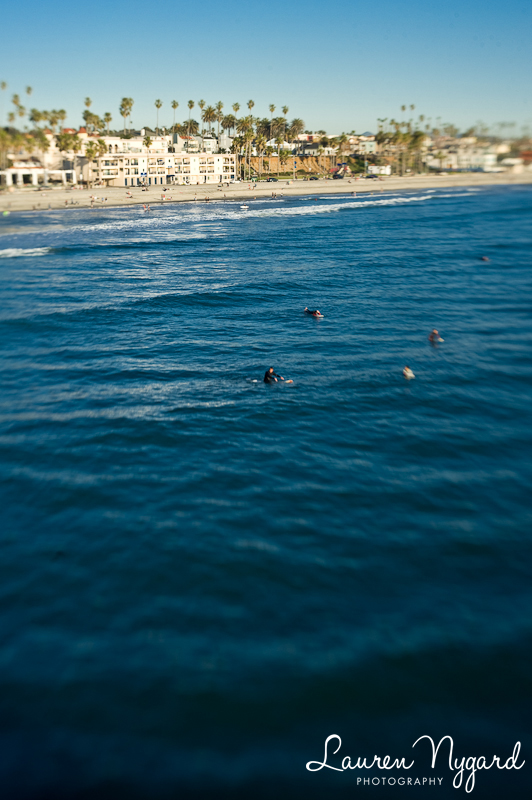
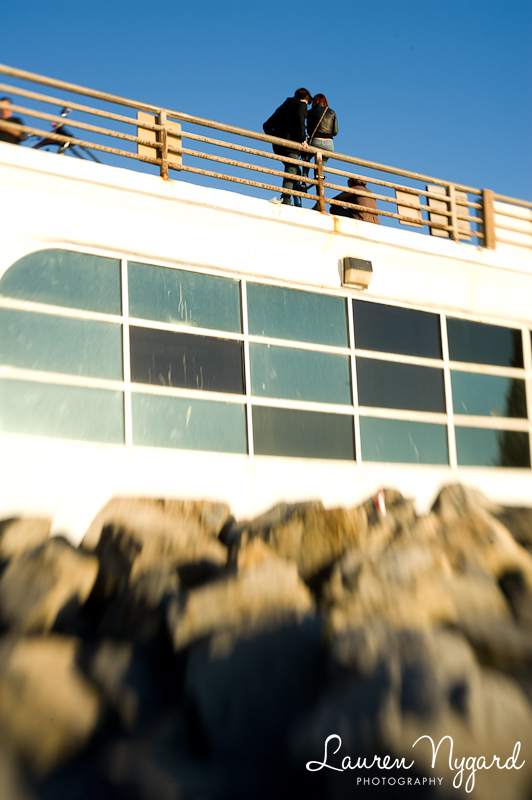
One thing you may have noticed about me is that I love getting out and photographing with local photo friends! Over the weekend, I met up with a group of photographers from the Pacific Photographic Society to do a photo walk along Cedros Avenue in Solana Beach. It was fun to get out and have fun! Here are some of the shots I captured on our journey.
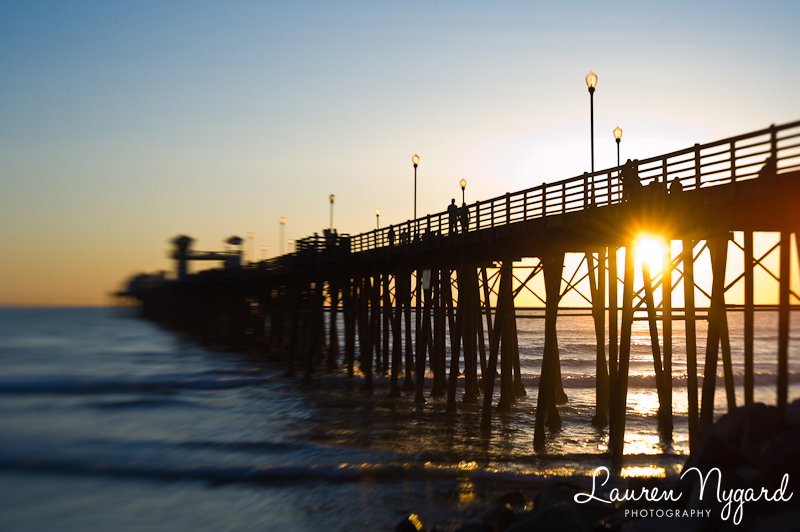
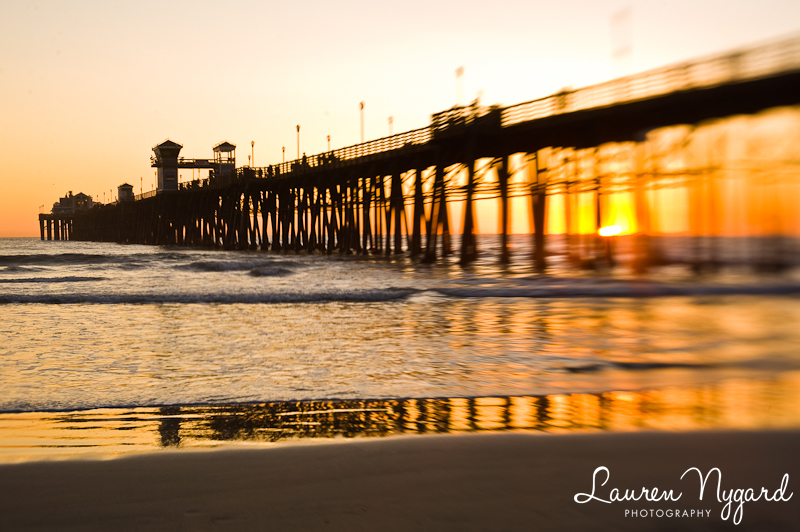
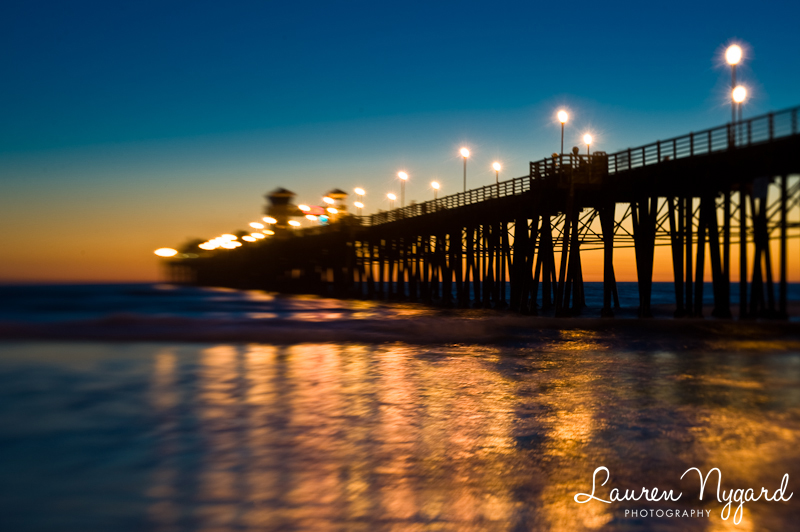
xoxo, LaurenI set up a shoot with the Pacific Photographic Society to photograph the sunset at the Oceanside Pier a while back. It was originally scheduled for a few weeks ago, but we had to cancel last-minute because of poor weather. We rescheduled it for this weekend, and had a wonderful sunset that produced gorgeous photos!
I had just (that day!) picked up a Lensbaby Composer, so I decided it was a great time to test it out! I first shot the group photo with a wide angle lens, but then kept the Lensbaby on for the remainder of the evening. It was pretty fun! It will definitely take a little getting used to, but I was really happy with the results on my first try! What do you think?
The following shots were all taken using the f/11 aperture ring, but I varied the white balance settings and shutter speed to get some different effects. The first one was shot at 1/80s, the second at 1/20s, and the last one at 1.6s. Now I gotta get a neutral density filter to allow an even longer shutter speed! :)
I think the last one was my favorite!
xoxo, LaurenHi All!
As you probably know, I’m mentoring a group of San Diego photographers who have signed up for Photosanity, an online workshop that helps parents take better photos as well as get a handle on organizing, editing, and sharing them! In previous posts, I’ve covered what to look for to get the best photos and tips to capture natural eye contact and smiles. This week’s lesson is about making the most from the light you have.
One of the first things you’ll learn about photographing in natural light is that the best light for photographs can be found within the first and last hours of daylight. That’s when the sun is closest to the horizon, and the layers of atmosphere diffuse the sun’s rays, producing gorgeously soft light. The hour before sunset even has a special name–the “golden hour”–because the light tends to be deliciously warm, soft, and forgiving. Seriously, it’s a portrait photographer’s dream! (It’s true–contrary to popular belief, bright sunlight is not good for photos! I have no clue how that myth even got started!)
But what happens when you have an event planned at a time other than dusk or dawn? Or what about those times when you’re out making memories with your family at high noon? Well, we have to learn to deal with those lighting situations as well. There are several tactics I usually employ to tackle challenging light, but let’s talk about one for now: find shade!
This is pretty easy. If you’re out at a park, go under the nearest tree. Or find an umbrella. Or a building. Or something. Trees are usually most abundant, and provide really nice light! Here are some examples I captured at one of last year’s photo sessions under the shade of a nearby structure or tree.
Gorgeous, huh? :)
And, if you can’t battle the sun, at least play nice, eh? Another tactic is to embrace the harsh sun, head-on. And get some gorgeous flare as a result! For this photo, I was shooting towards the sunlight, but metering for my subject, and I allowed the sun to hit my lens for the flare.
I’ll be blogging about future workshop lessons so make sure you “like” me on Facebook to get the latest updates! In the meantime, you can also check out the free Photosanity video lesson on the top 5 tips to take better photos of your kids!!
xoxo, LaurenHi All!
As you probably know, I’m mentoring a group of San Diego photographers who have signed up for Photosanity. It’s an online workshop that helps parents take better photos as well as get a handle on organizing, editing, and sharing them! You saw a post about the first week’s lesson on the five triggers here. This week’s lesson is filled with lots of tips and strategies on how to get your children to cooperate in front of the camera. I hear it’s not an easy task! :) The lesson is filled with all kinds of tips and strategies. I’m going to share a couple tips I like to use to capture natural eye contact and smiles!
I mentioned Sophie’s story when I was interviewed for the NestingNYC blog as part of my mentorship with Photosanity:
Little Sophie was taking a while to get warmed up to me, so I asked her to help me get her mommy and daddy to smile at the camera. She was a fantastic assistant! When I showed her the image I captured of her parents, she had a huge smile on her face! I told her it was her turn, and I was able to catch this precious shot.
So, my first tip is to get your child involved in the photography process! Perhaps you have another child (or friend or spouse or pet) that you can use as a subject for a few moments while your child is playing around or otherwise not paying attention. Not only is it a great opportunity for you to capture him while he’s in his own world, but you can quickly call his name to snap an image while he’s looking right at you with that inquisitive eye.
Another tip is to keep them occupied with something else. I took this photo at a recent session that we did right before Valentine’s Day. I took along some of my mini red heart cookies and had Lena hold one for a couple shots. She was more interested in eating it than in holding it for a photo, so, in this image, she’s pulling the cookie up to her mouth, as if she’s about to take a bite! Her mom and I kept saying that she could have it once we got the photo we wanted, so I love the little smirk she’s giving since she knew she wasn’t supposed to eat it. :) And don’t worry–we let her chow down right after this shot!
I’ll be blogging about future workshop lessons so make sure you “like” me on Facebook to get the latest updates! In the meantime, you can also check out the free Photosanity video lesson on the top 5 tips to take better photos of your kids!!
xoxo, LaurenHi All!
As you probably know, I’m mentoring a group of San Diego photographers who have signed up for Photosanity, an online workshop that helps parents take better photos as well as get a handle on organizing, editing, and sharing them! The workshop just kicked off and this week’s lesson is all about what to look for to get the best photos. We talk about the five triggers of photography: emotion, significance, light, composition and environment.
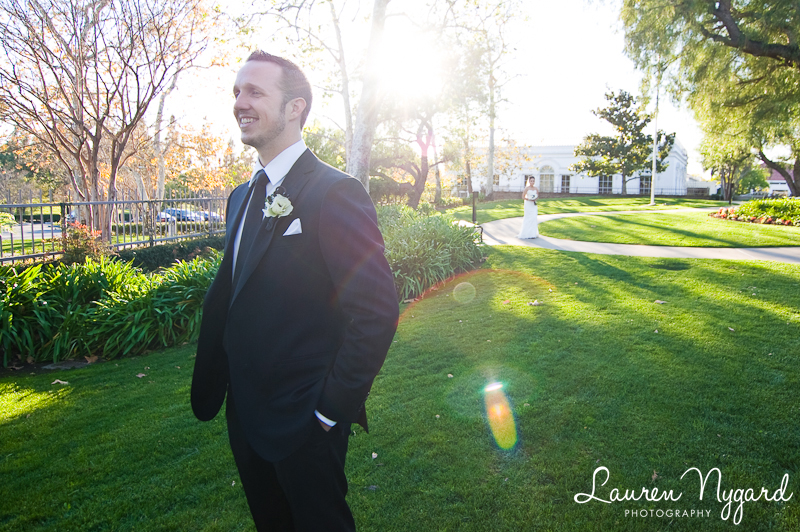
Below is a photo of mine from a recent wedding that I love! All five of the triggers were at play in this photo! This is a photo of the groom awaiting the “first look” of his bride before the ceremony (emotion and significance). The light was perfect because we were in open shade, both the bride and the groom are placed on the vertical “thirds” lines of the photo (composition), and we know that this took place on the back lawn of the Nixon Library because we can see the building in the background (environment).
I’ll be blogging about future workshop lessons so make sure you “like” me on Facebook to get the latest updates! In the meantime, you can also check out the free Photosanity video lesson on the top 5 tips to take better photos of your kids!!
xoxo, Lauren

