Hope on My Hands

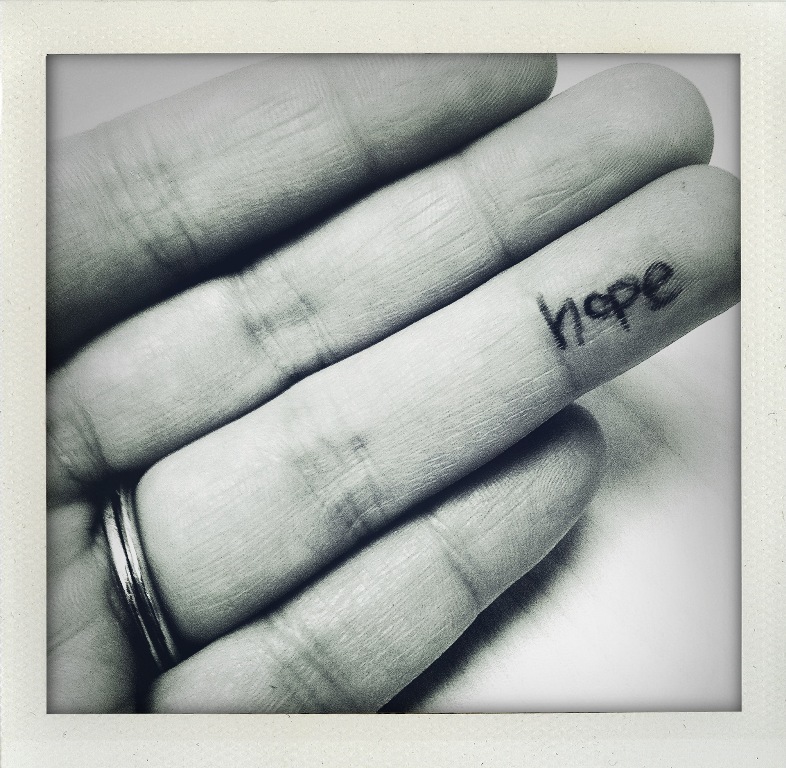
There’s this thing happening on Facebook today called “Write HOPE on your hands for diabetes” in honor of March 1 being “Hope for a cure for Diabetes” day. The concept is simple:

Write HOPE on your hands, and show your support for someone you love with diabetes, then post the photos here and tell us WHO you’re writing Hope on your hands for.

Though my mom was promised a cure within ten years when I was diagnosed (in–*cough cough*–1988!), I learned on Saturday that a cure is really far away. Clay and I went to JDRF San Diego’s Family Day at the La Jolla Institute of Allergy and Immunology. It was really cool because we got to listen to a research update from Dr. Matthias von Herrath, M.D., who is currently working on JDRF-funded research to cure diabetes. Pretty rad! Anyway, though we’d all LOVE to have a cure right around the corner, he highlighted what’s going on now with research and why it’s so hard to find a dang cure. Basically, pancreases are fickle creatures with many jobs, and don’t care to be poked and prodded in the name of research. (I know, RUDE!)

So what does that have to do with today, “Hope for a cure for Diabetes” day?

Well, a lot. Just because there’s not a cure right around the corner, doesn’t mean there will never be a cure. True, I may not see a cure in my lifetime. But, what if we–you and me and everyone on the earth right now–were so successful in our quest for the cure that the next generation never saw Type 1 Diabetes, and it floated into the history books to stay? Now that would be awesome.

In the meantime, I’ll keep checking my bloodsugar, planning my meals, wearing my continuous glucose monitor, bolusing early, and exercising to stave off all the effects of poor diabetes management. But that never means I’ll loose

xoxo,
Lauren


The A Family

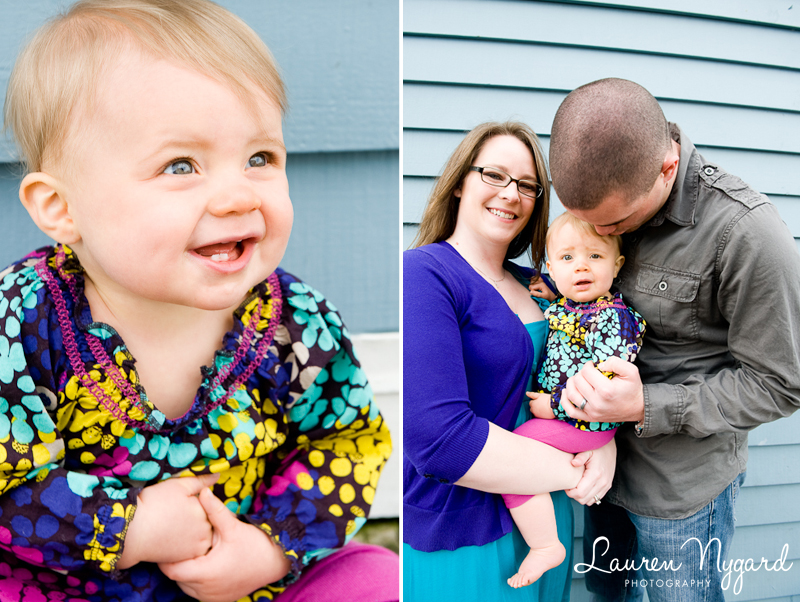
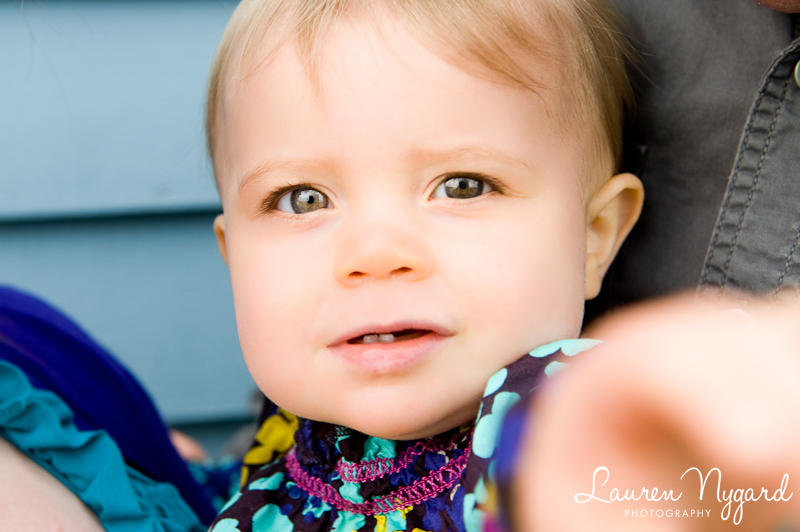
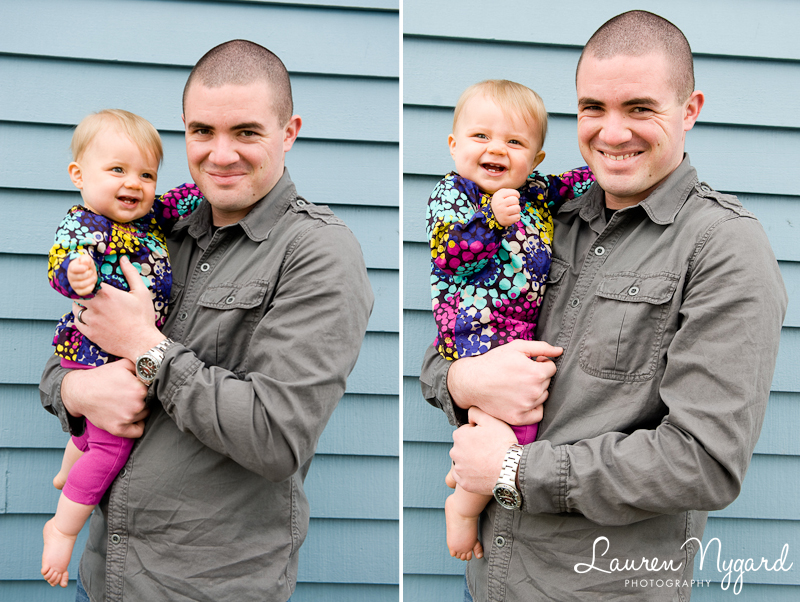
I was SO excited when I got an email from Jim, asking if he could arrange a portrait session for his wife’s birthday! I met Jim and Lauren a little over a year ago when I saw Lauren in a Texas A&M t-shirt outside of the exchange at Camp Pendleton. I happened to be talking to another Aggie at the moment, so we took it upon ourselves to go say HOWDY!

I was lucky enough to photograph a maternity session for the two of them before little N was born last April, so I was especially excited to photograph the family of three. We met up at the Pier in Oceanside and enjoyed a morning on the beach before N decided it was meal time. :) Here are a handful of my favorites!

Have a great week!

xoxo,
Lauren


Photosanity – The Light You Have

Hi All!

As you probably know, I’m mentoring a group of San Diego photographers who have signed up for Photosanity, an online workshop that helps parents take better photos as well as get a handle on organizing, editing, and sharing them! In previous posts, I’ve covered what to look for to get the best photos and tips to capture natural eye contact and smiles. This week’s lesson is about making the most from the light you have.

One of the first things you’ll learn about photographing in natural light is that the best light for photographs can be found within the first and last hours of daylight. That’s when the sun is closest to the horizon, and the layers of atmosphere diffuse the sun’s rays, producing gorgeously soft light. The hour before sunset even has a special name–the “golden hour”–because the light tends to be deliciously warm, soft, and forgiving. Seriously, it’s a portrait photographer’s dream! (It’s true–contrary to popular belief, bright sunlight is not good for photos! I have no clue how that myth even got started!)

But what happens when you have an event planned at a time other than dusk or dawn? Or what about those times when you’re out making memories with your family at high noon? Well, we have to learn to deal with those lighting situations as well. There are several tactics I usually employ to tackle challenging light, but let’s talk about one for now: find shade!

This is pretty easy. If you’re out at a park, go under the nearest tree. Or find an umbrella. Or a building. Or something. Trees are usually most abundant, and provide really nice light! Here are some examples I captured at one of last year’s photo sessions under the shade of a nearby structure or tree.

Gorgeous, huh? :)

And, if you can’t battle the sun, at least play nice, eh? Another tactic is to embrace the harsh sun, head-on. And get some gorgeous flare as a result! For this photo, I was shooting towards the sunlight, but metering for my subject, and I allowed the sun to hit my lens for the flare.

I’ll be blogging about future workshop lessons so make sure you “like” me on Facebook to get the latest updates! In the meantime, you can also check out the free Photosanity video lesson on the top 5 tips to take better photos of your kids!!

xoxo,
Lauren


Photosanity – Capturing Natural Eye Contact and Smiles

Hi All!

As you probably know, I’m mentoring a group of San Diego photographers who have signed up for Photosanity. It’s an online workshop that helps parents take better photos as well as get a handle on organizing, editing, and sharing them! You saw a post about the first week’s lesson on the five triggers here. This week’s lesson is filled with lots of tips and strategies on how to get your children to cooperate in front of the camera. I hear it’s not an easy task! :) The lesson is filled with all kinds of tips and strategies. I’m going to share a couple tips I like to use to capture natural eye contact and smiles!

I mentioned Sophie’s story when I was interviewed for the NestingNYC blog as part of my mentorship with Photosanity:

Little Sophie was taking a while to get warmed up to me, so I asked her to help me get her mommy and daddy to smile at the camera. She was a fantastic assistant! When I showed her the image I captured of her parents, she had a huge smile on her face! I told her it was her turn, and I was able to catch this precious shot.

So, my first tip is to get your child involved in the photography process! Perhaps you have another child (or friend or spouse or pet) that you can use as a subject for a few moments while your child is playing around or otherwise not paying attention. Not only is it a great opportunity for you to capture him while he’s in his own world, but you can quickly call his name to snap an image while he’s looking right at you with that inquisitive eye.

Another tip is to keep them occupied with something else. I took this photo at a recent session that we did right before Valentine’s Day. I took along some of my mini red heart cookies and had Lena hold one for a couple shots. She was more interested in eating it than in holding it for a photo, so, in this image, she’s pulling the cookie up to her mouth, as if she’s about to take a bite! Her mom and I kept saying that she could have it once we got the photo we wanted, so I love the little smirk she’s giving since she knew she wasn’t supposed to eat it. :) And don’t worry–we let her chow down right after this shot!

I’ll be blogging about future workshop lessons so make sure you “like” me on Facebook to get the latest updates! In the meantime, you can also check out the free Photosanity video lesson on the top 5 tips to take better photos of your kids!!

xoxo,
Lauren


Happy Hearts Day!

I hope you all are having a fabulous Valentine’s Day! I’m happy to have my husband back from the field just in time to celebrate it together. :)

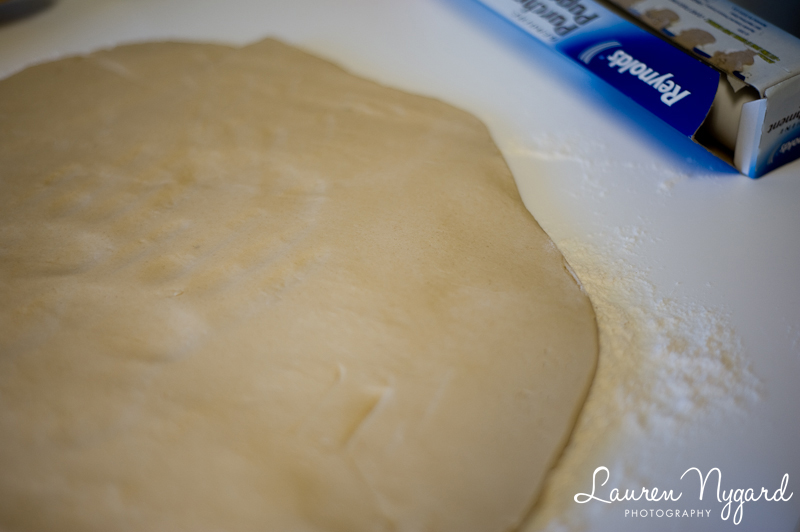
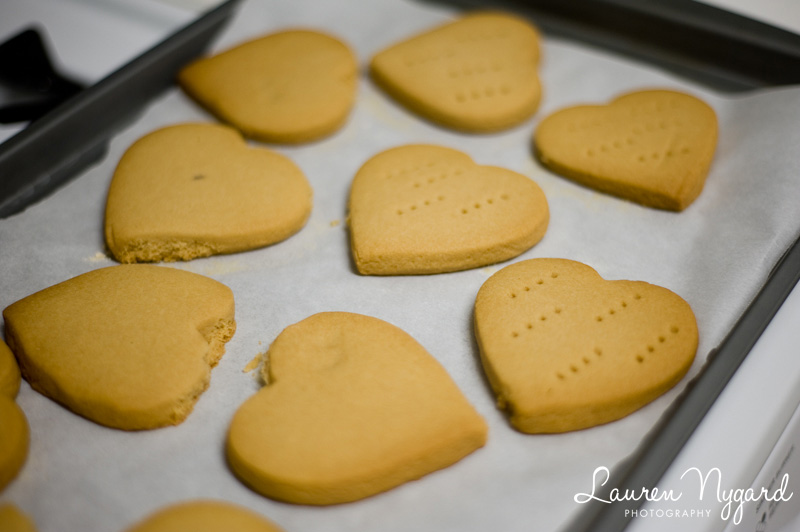
Since he was out for the past week, I took some time to bake up treats to send to my family this year. I started with some shortbread that I intended to decorate like heart-shaped ladybugs, a.k.a. “hug bugs”. The decorating did not go as planned, but they turned out cute anyway! Then I cooked up some brownies, cut them into hearts, and sent them along.

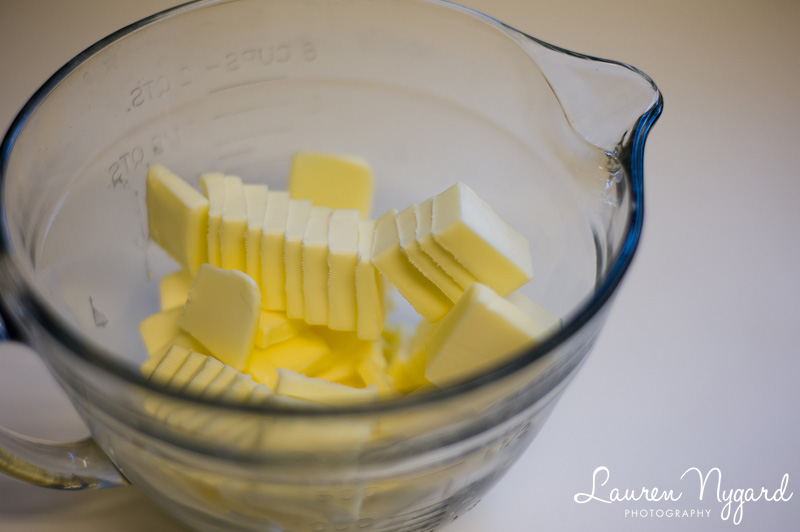
You know it’s going to be good when you start with a huge bowl of butter!

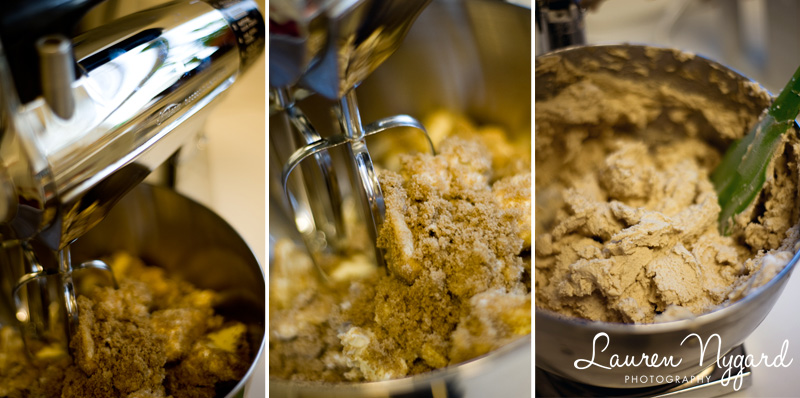
I started off with my beloved hand mixer (an awesome hand-me-down from my grandmother!) but it was no match for all the butter.

So I pulled out my trusty Sunbeam. I love this mixer because it’s the same model that my mom uses, which was passed down from my great-grandmother! I had a similar one in college that was my grandmother’s (my mom’s mom’s) but it stayed in Texas when I moved to California, so now my mom pulls it out since hers is trying to give out.

I found this one randomly at the thrift store at Ft. Myer in Virginia, shortly after my husband and I got married. It might be the best $10 I’ve ever spent. (Never mind that I sometimes have to duct tape the power cord into the back of the mixer to get it to work!) Have I mentioned how much I love vintage appliances?!

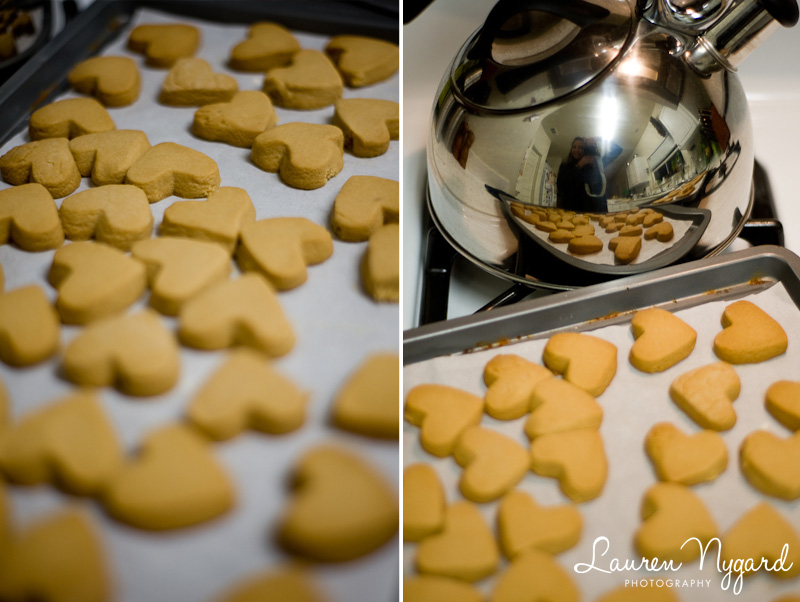
Hey look! That’s me in the reflection in my teapot on the right! :)

The white tips are the results of my attempted ladybug-making, which quickly turned into drizzles!

The brownies were the easy part! :)

Have a great day and lovely week! ;)

xoxo,
Lauren