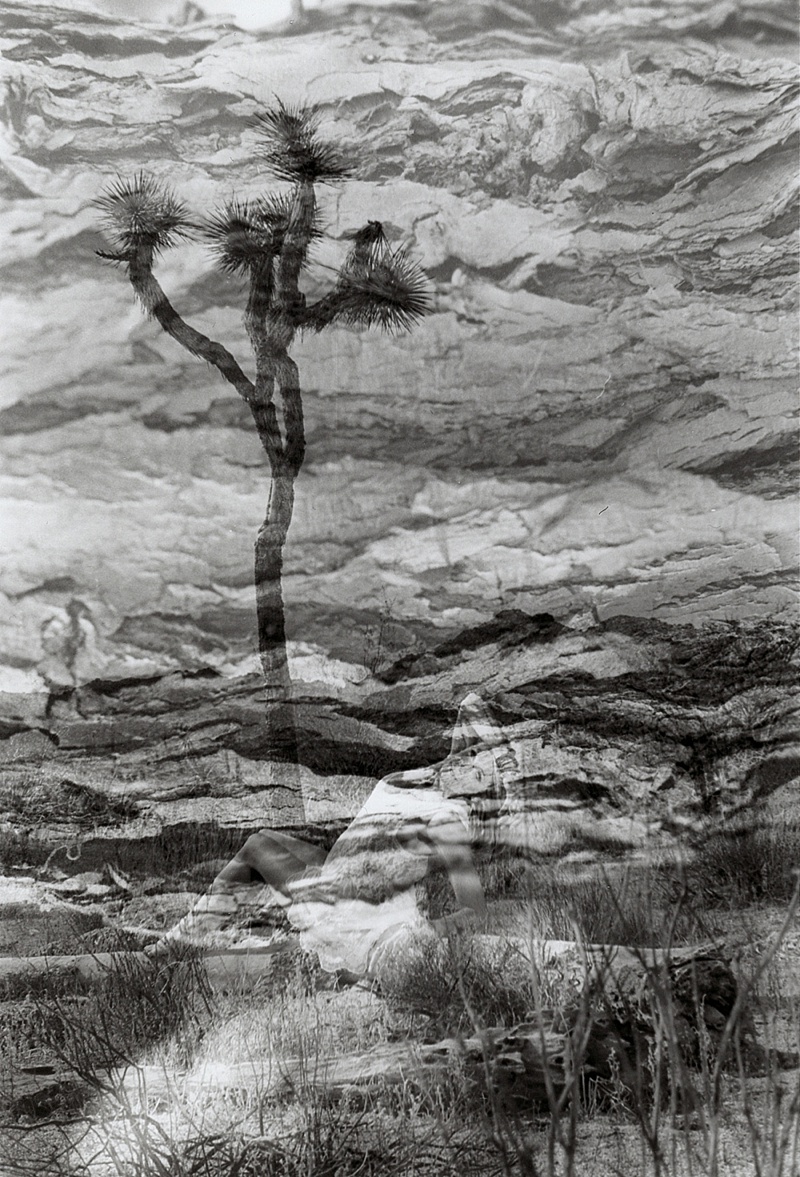
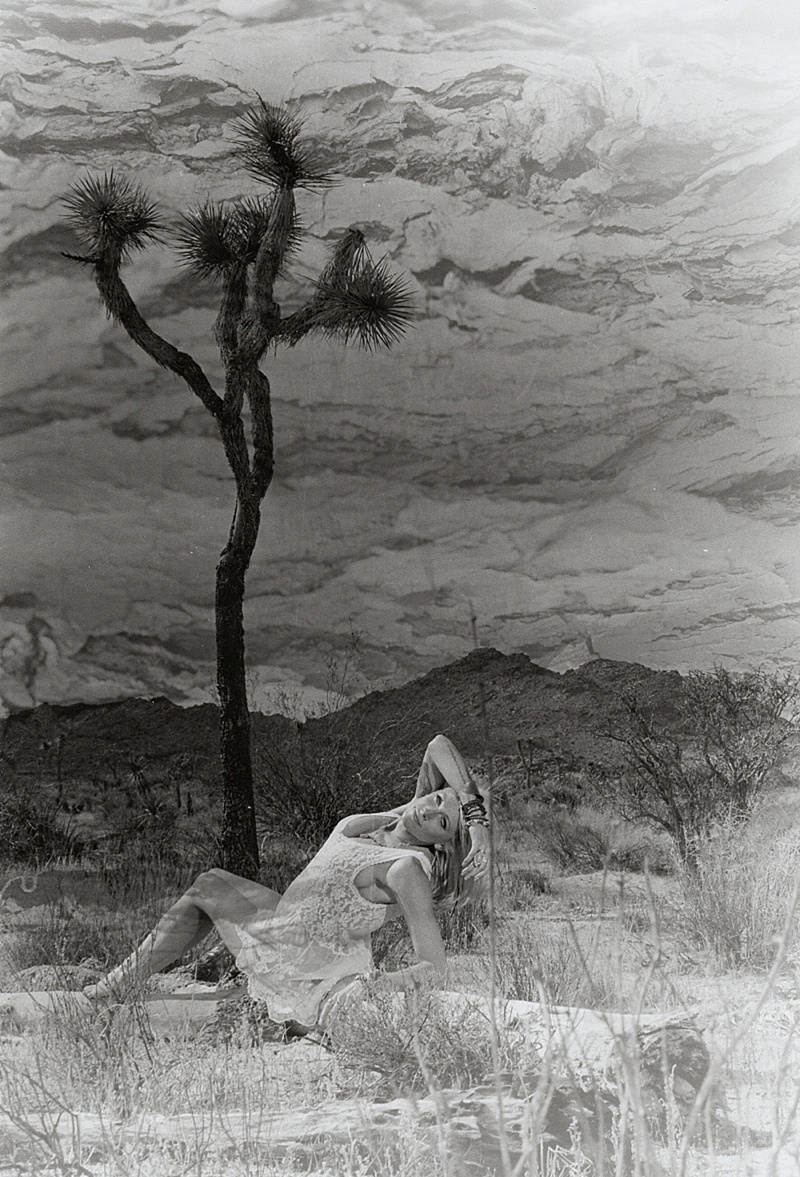
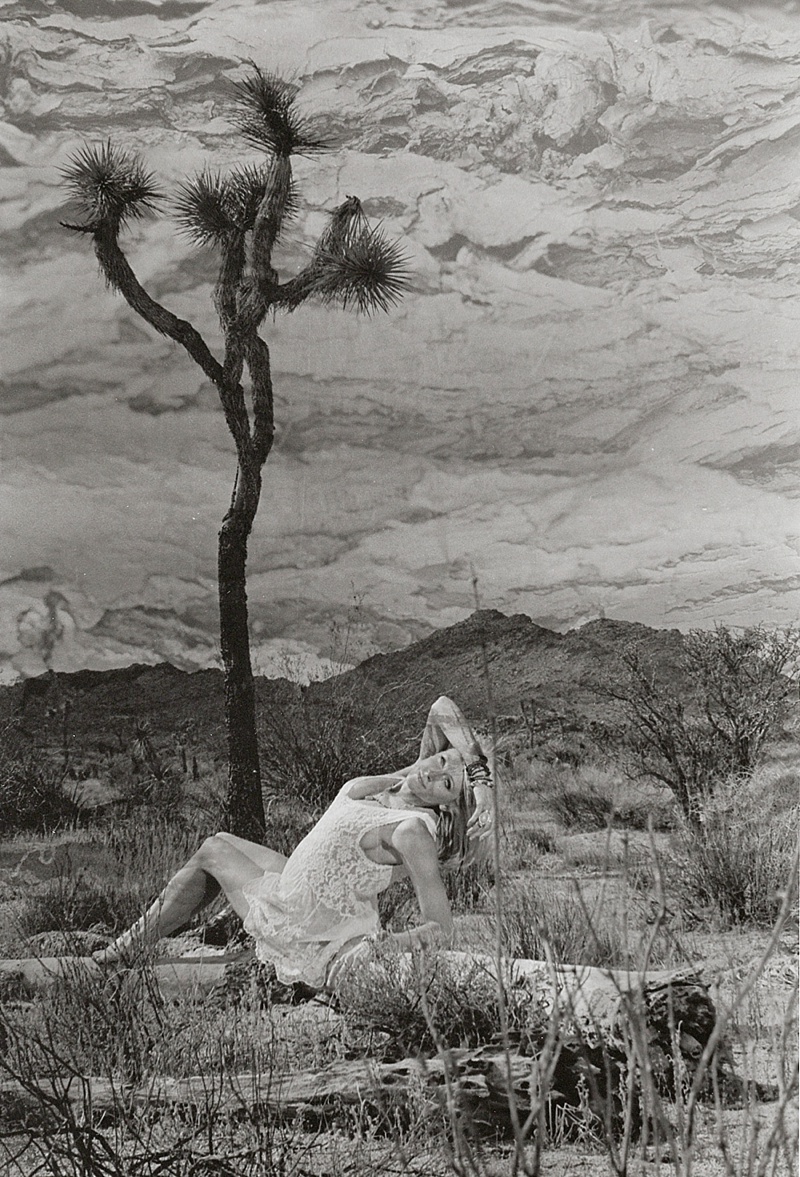
Most people are aware that creating double-exposures in your camera can be fun and exciting! Creating double-exposures in the darkroom can be even more satisfying, since the creator has more control over what image is being created, even if you can’t see it until it’s developed! Here, I created a double exposure first by stacking my negatives in the carrier (top image). Then, for the middle image, since I wanted the tree texture to be less noticeable, I decided to expose the paper once for the desert image (with beautiful Jenny in it) then again with the tree texture, dodging the area where Jenny is located. I noticed that I didn’t have the enlarger set up properly for this print, so I adjusted it, and repeated the process for the final (bottom) image.
This post is part of a blog circle for the love of film! See what Bobbi-Jo of Love, Bee photography has in store for you this month by clicking here! :)
These images were taken by me on a Nikon F100, then developed, printed, and scanned by me as well. :)
xoxo, Lauren
Are you looking for a photographer for your upcoming wedding or anniversary session? Email Lauren at lauren@laurennygard.com or use the contact link on the top of this page to get in touch with San Diego Wedding Photographer Lauren Nygard! Lauren is based in Southern California but loves traveling with her camera to capture love across the globe!
San Diego Wedding Photographer | Lauren Nygard Photography
https://laurennygard.com


Great work, very interesting! I realise it’s been a while since this post, but I think it would be fascinating to see the two images by themselves to see more into how you created this.
I have a question. What photo paper did you use for this project? Ive been doing something similar, but have a photo paper dilemma! Thank you!
Great question! I wish I remembered! ;) I typically used Arista VC RC Semi-Matte paper from Freestyle, so it was likely that paper! Hope that helps!