One of the most exciting things for me about being back in the darkroom is being able to see an image develop on photographic paper. Unlike laying ink onto paper, photographic prints are made by exposing light-sensitive compounds in paper to light via an enlarger. Like film, once the paper has been exposed, it must then be developed. Once the paper is submerged in the developer, the image begins to appear. Though sometimes the print doesn’t come out just as we want, it’s such a great feeling when the print does come out perfectly! (I didn’t even mention print making mistakes in this post!)
Here’s an image that I photographed on Arista 400 film in my Nikon F100, developed, printed on photographic paper, and scanned. I love how it turned out. :)
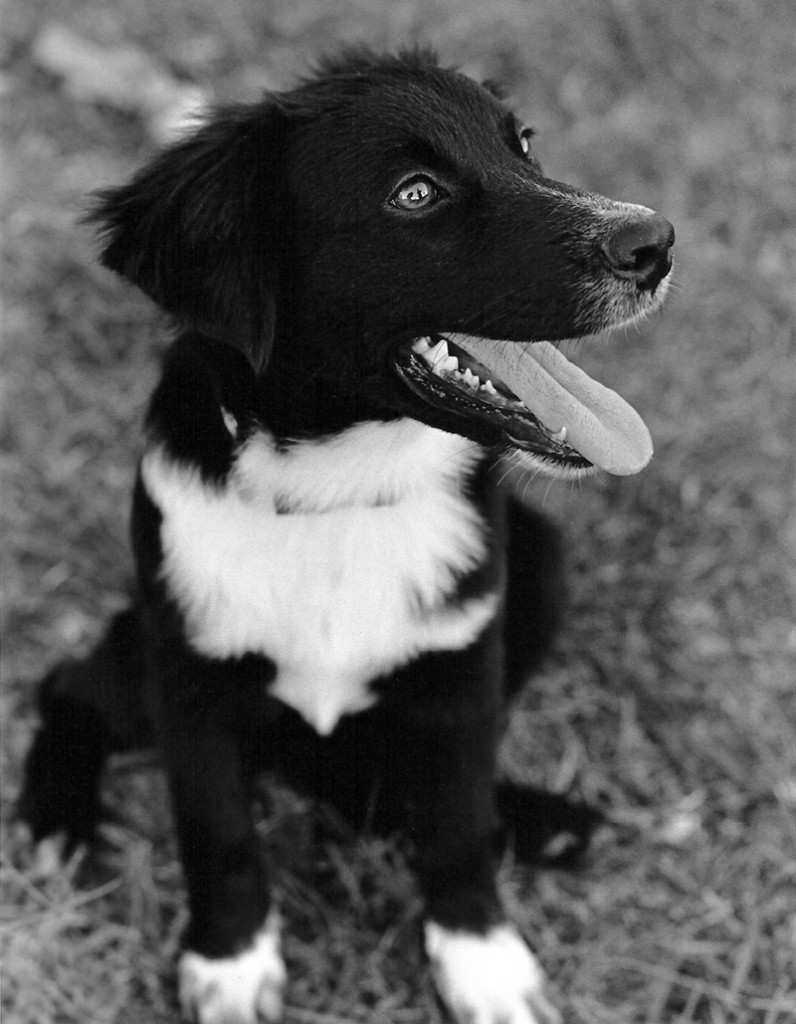
I didn’t record the exposure information when I took the photo, but the print was exposed for 7 seconds with the enlarger set at f/4, in case anyone is wondering. :)
xoxo, Lauren
Are you looking for a photographer for your upcoming wedding or anniversary session? Email Lauren at [email protected] or use the contact link on the top of this page to get in touch with San Diego Wedding Photographer Lauren Nygard! Lauren is based in Southern California but loves traveling with her camera to capture love across the globe!
San Diego Wedding Photographer | Lauren Nygard Photography
https://laurennygard.com